The quickest way to check if your VPN is working is to compare your IP address before and after connecting to the VPN. Then run a DNS leak test and a WebRTC leak test to make sure your real network details are not exposed.
A VPN app may show a “connected” status, but that alone is not always enough. If you care about privacy, you should know how to verify the connection yourself.
Here is the simple check:
- Check your real IP address before turning on the VPN.
- Connect to your VPN.
- Check your IP address again.
- Run a DNS leak test.
- Run a WebRTC leak test if you are using a browser.
- Confirm the connection inside your VPN app or dashboard.
If your IP changes and your DNS/WebRTC tests do not show your real network details, your VPN is likely working properly.
If your real IP address, real location, or ISP details still appear, something may be wrong with the VPN connection, browser settings, DNS handling, or device configuration.
This guide explains how to check everything step by step.
Why You Should Test Your VPN
A VPN should protect your connection, hide your real IP address from websites, and reduce what your internet provider or Wi-Fi network can see.
But many users never test it.
They simply open the VPN app, see “connected,” and assume everything is working.
That is not always enough.
You may want to test your VPN if:
- You just installed a new VPN
- You are using public Wi-Fi
- You are travelling
- You are seeing your real location on websites
- Your VPN says connected, but something feels off
- You are worried about DNS leaks
- You want to confirm your real IP is hidden
- You are comparing VPN services
Testing your VPN does not need to be technical. You only need to check a few simple things.
For a deeper explanation of VPN privacy, read What Does a VPN Hide?
Step 1: Check Your Real IP Before Connecting
Before turning on your VPN, check your real IP address.
Your IP address is the network address websites can usually see when you visit them. It can reveal your approximate location and internet provider.
To check it:
- Open a browser.
- Search for “what is my IP address.”
- Note the IP address shown.
- Note the approximate location.
- Note the ISP name if it appears.
This gives you a baseline.
You are checking what websites can see when your VPN is off.
What to record
Before VPN:
IP address
Approximate city or country
ISP name
Device or browser used
You do not need to save this forever. Just keep it open long enough to compare it after turning your VPN on.
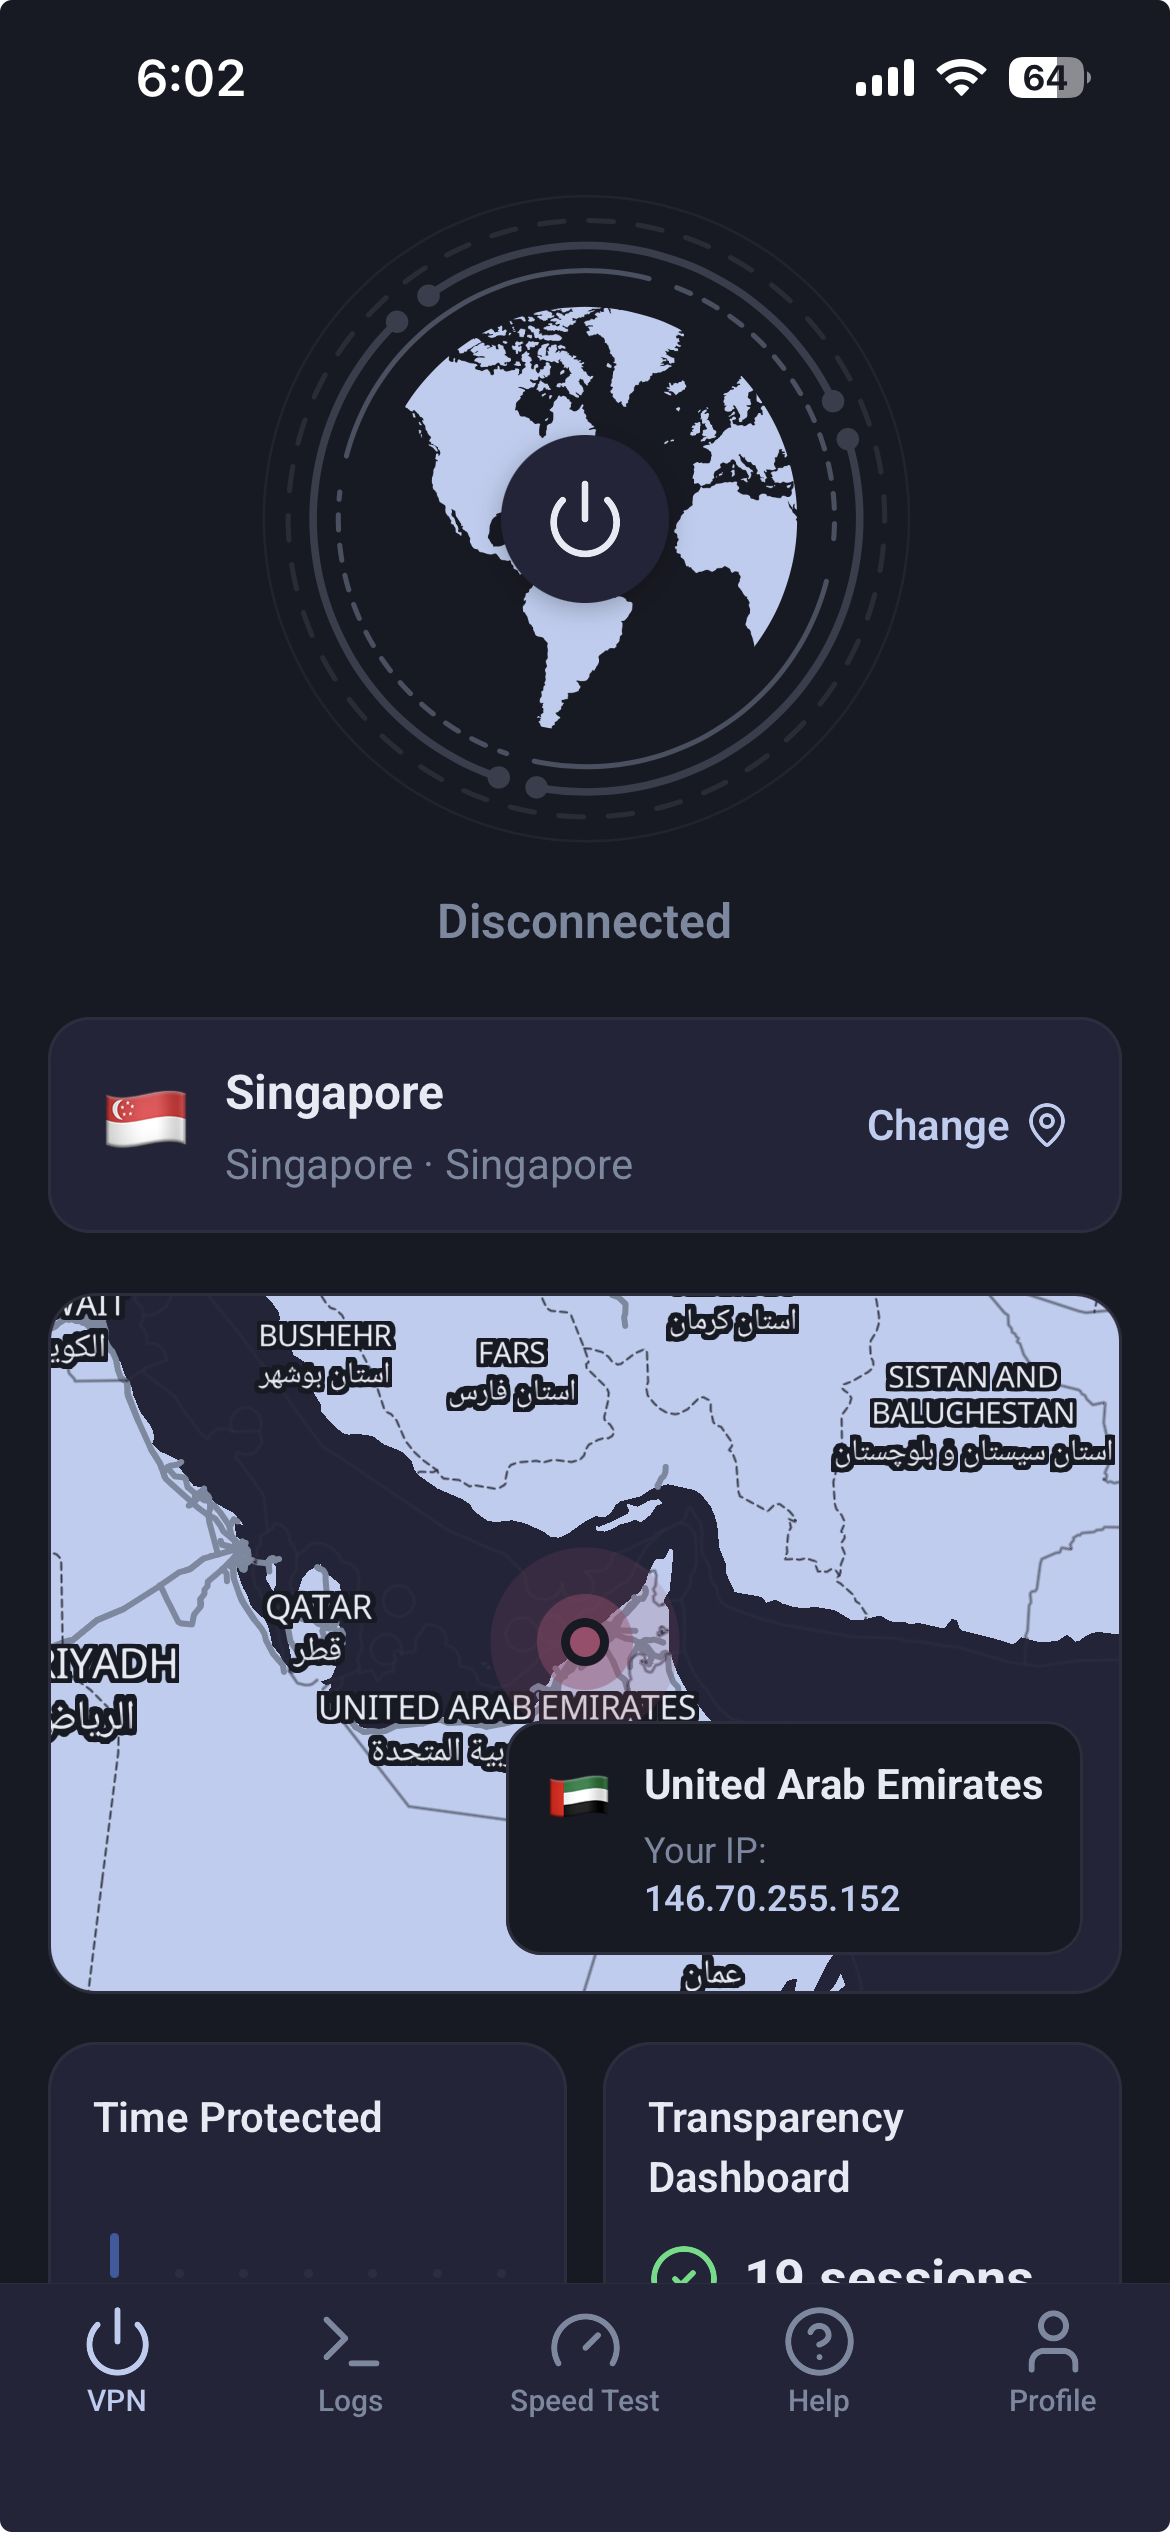
Step 2: Connect to Your VPN
Now open your VPN app and connect.
Wait until the VPN says it is connected. Do not test immediately if the app is still connecting or switching networks.
Once connected, wait a few seconds and refresh your browser.
If your VPN app has a dashboard, check it there too.
A good VPN should make the connection status clear. You should be able to understand whether your VPN is active, what session is running, and whether your protection is actually on.
This matters because users should not have to trust a small green icon blindly.
A VPN should give clear connection information.
Step 3: Check Your IP Address Again
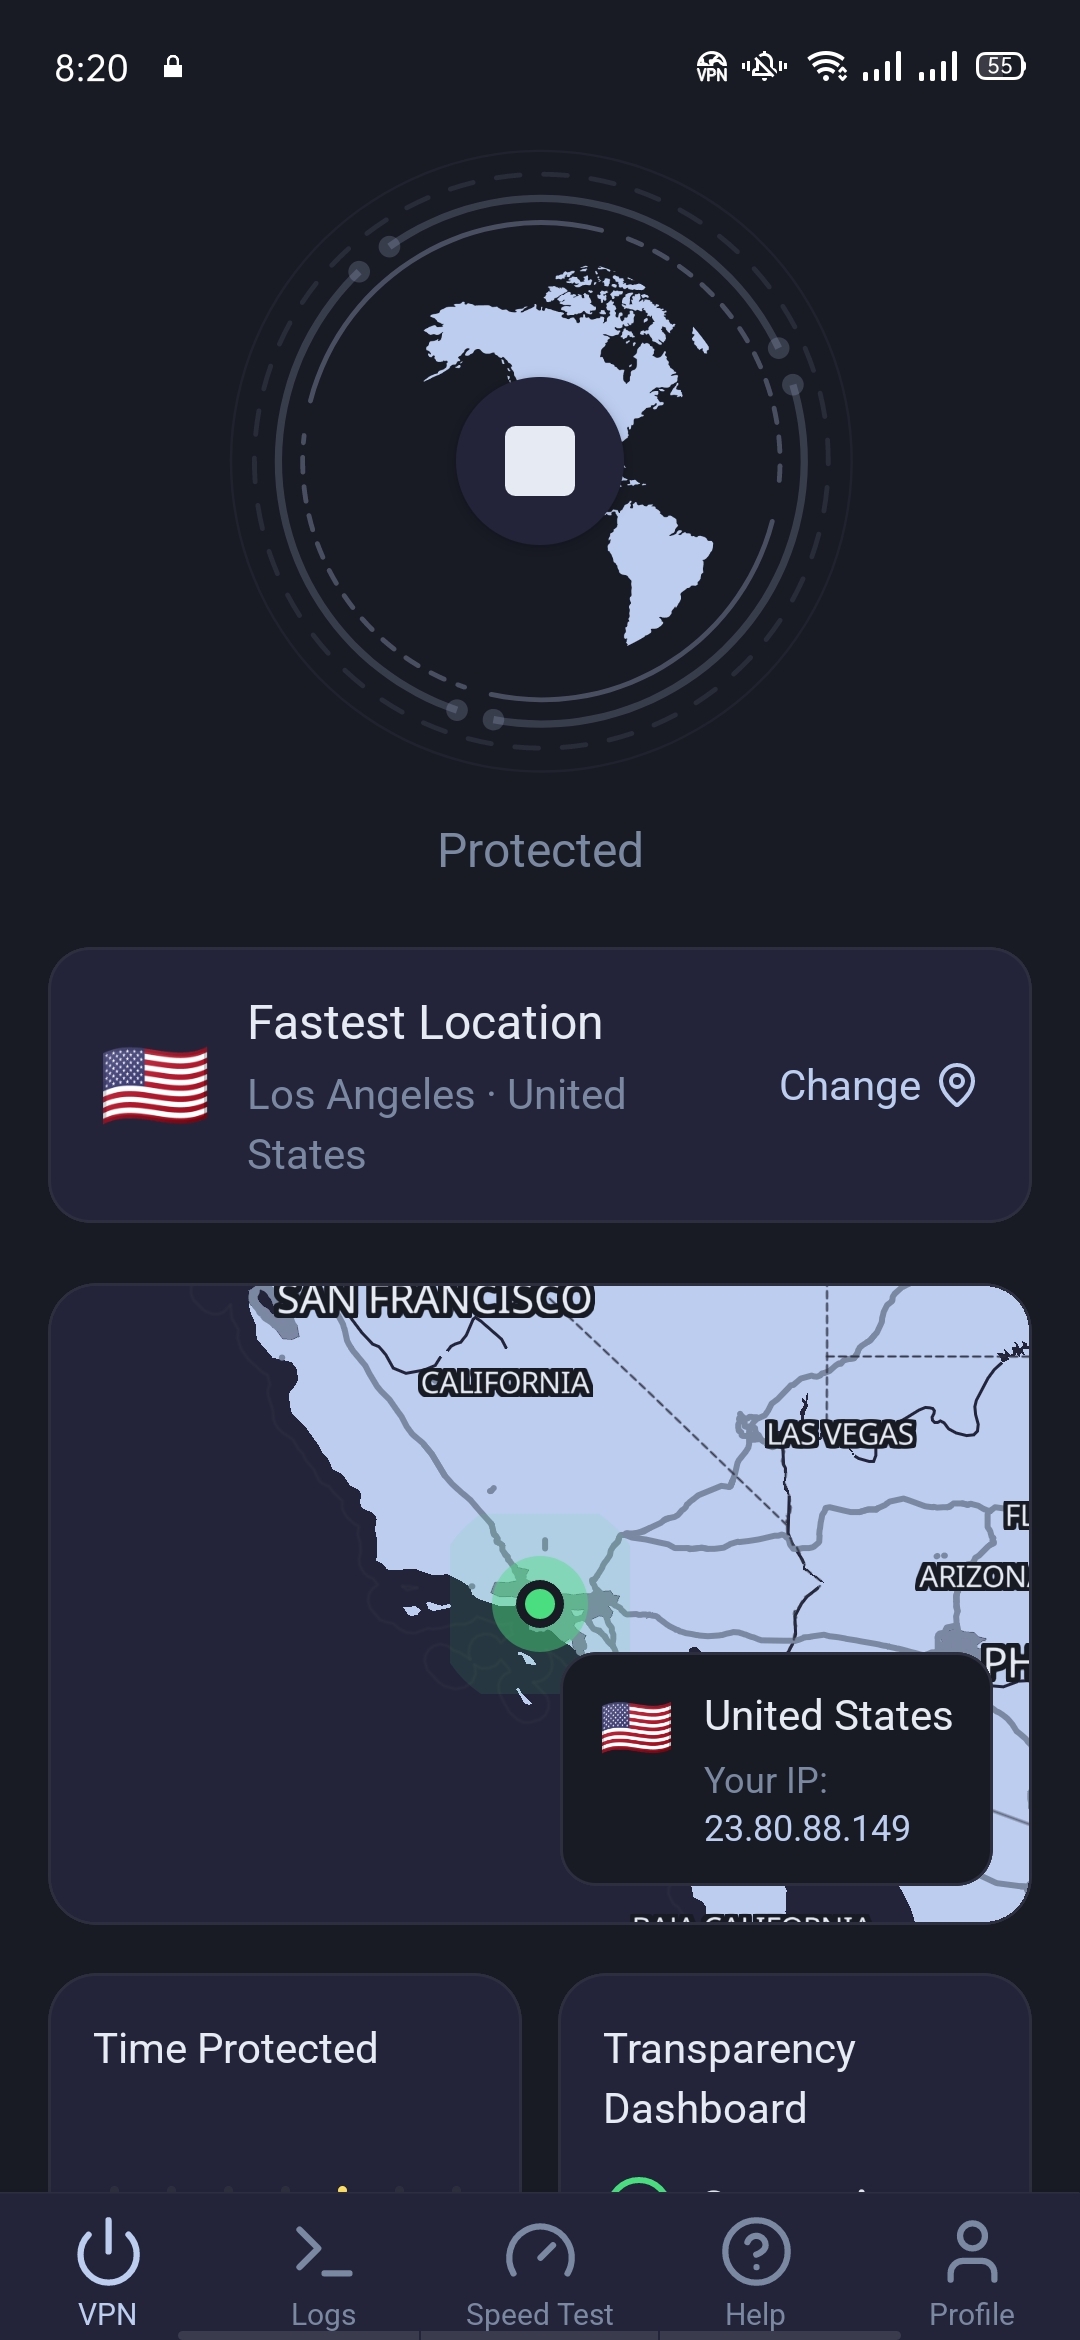
After connecting to the VPN, check your IP address again.
Search for “what is my IP address” or use an IP checker.
Now compare the result with your original IP.
What should happen
Your visible IP address should change.
Your visible location may also change depending on the VPN server or VPN routing.
Your ISP should no longer appear in the same way on public IP lookup tools.
If the IP address changes, that is a good sign. It means websites are likely seeing the VPN connection instead of your real network IP.
What may be normal
Your location may not show the exact city you expected.
Some IP databases are outdated or approximate. A website may show the wrong city or nearby region even when the VPN is working. That does not always mean your VPN failed.
What is not normal
Your original IP address still appears.
Your real ISP still appears.
Your real location appears exactly as before.
The VPN says connected, but IP tools show no change. If that happens, your VPN may not be routing traffic correctly.
Quick Result Table
| Test Result | What It Usually Means |
|---|---|
| IP address changes | VPN is likely routing traffic |
| IP address stays the same | VPN may not be working |
| ISP name still appears | VPN may not be active, or traffic may be leaking |
| Location is slightly different from what was expected | Could be a normal IP database mismatch |
| Real city still appears | Check for IP, DNS, or WebRTC leaks |
| VPN connected, but the browser shows the real IP | Restart VPN, change server, or test another browser |
The IP test is the first step, but it is not the only step.
You should also check DNS and WebRTC.
Step 4: Test for DNS Leaks
A DNS leak happens when your device sends DNS requests outside the VPN tunnel.
DNS is how your device looks up websites. For example, when you visit a website, your device needs to know where that website is located online.
If DNS requests leak outside the VPN, your internet provider or network may still see some browsing-related activity even when your VPN is connected.
That is why DNS testing matters.
How to test for DNS leaks
Connect to your VPN.
Open a DNS leak testing tool.
Run the standard or extended test.
Check which DNS servers appear.
What you want to see
You should see DNS servers connected to your VPN or VPN-protected connection.
You should not see your real ISP’s DNS servers.
What a DNS leak may look like
Your VPN says connected, but the DNS test shows your ISP.
Your real country appears in DNS results when it should not.
Multiple unknown DNS servers appear outside your VPN connection.
If that happens, your VPN may not be handling DNS properly.
For a more detailed testing guide, read VPN Leak Test.
Step 5: Test for WebRTC Leaks
WebRTC is a browser technology used for real-time communication, such as voice, video, and peer-to-peer features.
In some browsers, WebRTC can expose network information even when a VPN is connected.
This is why privacy-focused users often test for WebRTC leaks.
How to test for WebRTC leaks
Connect to your VPN.
Open a WebRTC leak testing tool.
Check whether your real IP address appears.
What you want to see
You do not want your real public IP address to appear.
If the test only shows the VPN IP, that is usually good.
What to do if WebRTC leaks
If your real IP appears through WebRTC, try these steps:
Disable WebRTC in your browser if possible.
Use a browser extension that controls WebRTC leaks.
Try another browser.
Reconnect your VPN.
Restart your browser after connecting.
Check your VPN settings.
A VPN can protect the connection, but browser-level behaviour can still matter.
This is why testing is useful.
Step 6: Confirm the VPN Connection Inside the App or Dashboard
After checking IP, DNS, and WebRTC, confirm the VPN connection inside your VPN app.
This step matters because different tools show different parts of the picture.
An IP checker shows what websites may see.
A DNS leak test shows whether DNS is leaking outside the VPN.
A WebRTC test shows whether your browser exposes network details.
Your VPN app or dashboard should show whether the VPN itself is active.
If your VPN gives you a dashboard, use it.
You should be able to confirm:
VPN connection status
Current session
Usage information
Protection status
Whether the VPN is active
Whether privacy-related data is visible
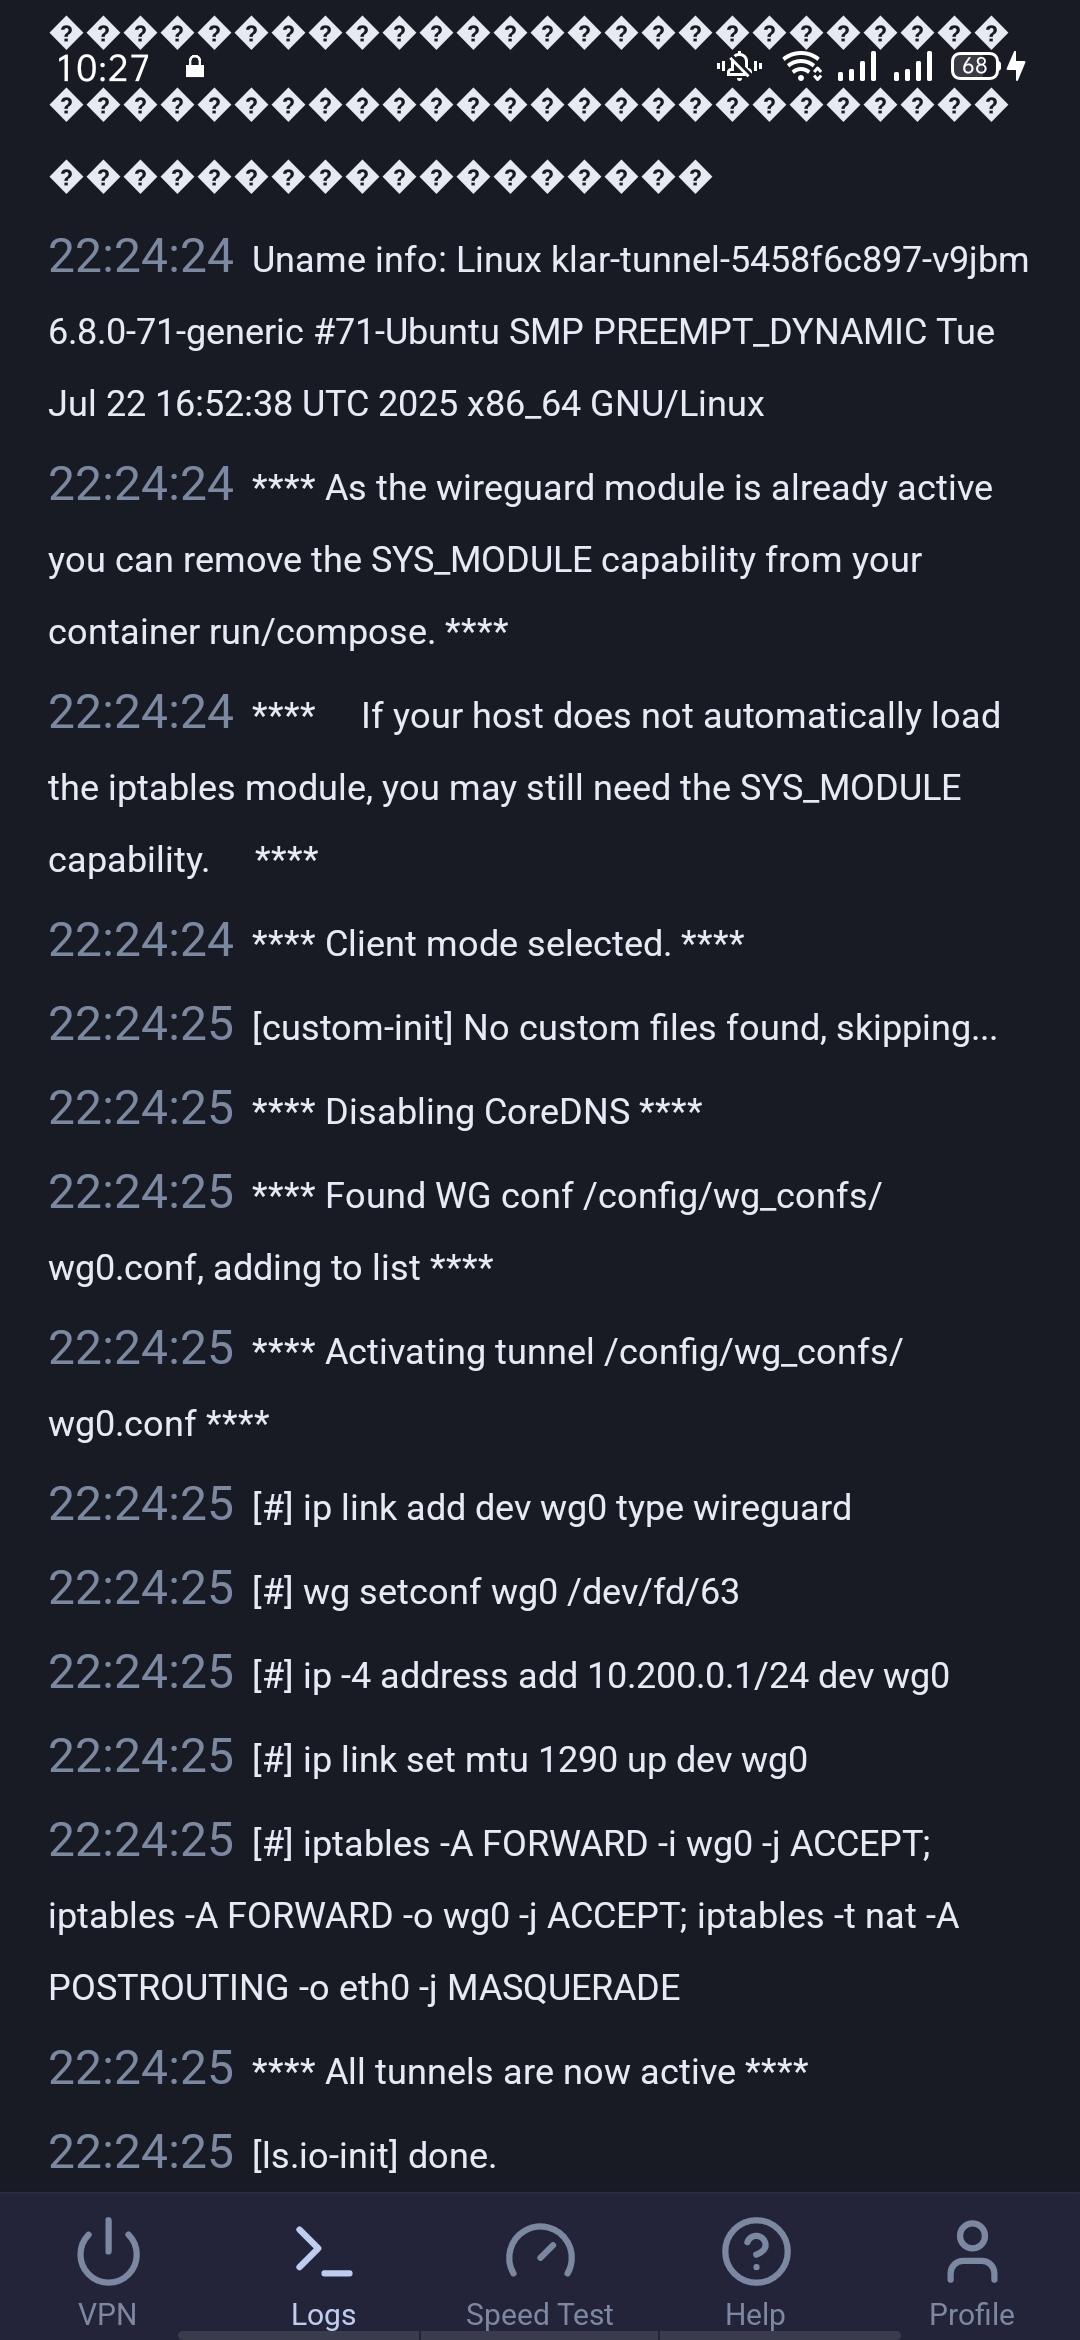
This is where KlarVPN is different.
KlarVPN is built around visible privacy. Instead of only showing a connected icon, KlarVPN includes a live transparency dashboard that helps users see what exists in the system and what does not.
That makes VPN testing easier to understand.
What to Do If Your Real IP Still Appears
If your real IP still appears after connecting to the VPN, do not ignore it.
Try these steps.
1. Disconnect and Reconnect
Turn the VPN off, wait a few seconds, and connect again.
Then repeat the IP test.
2. Try Refreshing the VPN Tunnel
If your VPN supports a refresh feature, use it.
With KlarVPN, Refresh Tunnel rebuilds the tunnel with new encryption keys, a new IP address, and a refreshed tunnel fingerprint. This gives you a fresh VPN-side identity instead of a basic reconnect.
3. Restart Your Browser
Sometimes your browser keeps old session data.
Close the browser completely, reopen it, and test again.
4. Clear Browser Cache or Try Private Window
Old cookies or cached location data can make websites show old information.
Try a private window or clear site data for the testing website.
5. Change VPN Location or Server
If your VPN allows location changes, switch to another VPN location and test again.
6. Check Split Tunnelling Settings
Some VPNs allow certain apps or browsers to bypass the VPN.
If your browser is excluded from the VPN, your real IP may appear.
7. Restart Your Device
If the VPN still does not route traffic properly, restart your device and test again.
If your real IP continues to appear, the VPN may not be working correctly on that device.
What If the VPN Says Connected but Websites Show Your Real Location?
This can happen for several reasons.
It does not always mean the VPN is broken.
Location Databases Can Be Wrong
Websites use IP location databases to guess where an IP address is located.
These databases are not always accurate. A VPN IP may show a nearby city, wrong region, or old location.
Websites May Use Browser Location Permissions
If you allowed a website to use GPS or browser location, it may still know your real location.
A VPN hides your IP-based location, but it does not override GPS permission.
Check your browser or device location settings.
Cookies May Remember You
A website may remember your previous location from cookies, account settings, or past visits.
A VPN does not automatically clear cookies.
You May Be Logged In
If you are logged into an account, the website may use account information, shipping address, billing details, or saved preferences.
A VPN cannot hide information you already gave to the website.
WebRTC May Be Leaking
If your browser leaks your real IP through WebRTC, websites may still detect network details.
Run a WebRTC leak test.
The important point is this:
A VPN can be working correctly and still not change every location signal a website uses.
That is why IP, DNS, and WebRTC testing together gives a clearer picture.
VPN Working Checklist
Use this checklist whenever you want to confirm your VPN is working.
| Check | Good Result |
|---|---|
| IP address test | Your visible IP changes after connecting |
| ISP check | Your real ISP no longer appears in public IP tools |
| DNS leak test | DNS servers do not show your real ISP |
| WebRTC leak test | Your real public IP does not appear |
| VPN app status | App or dashboard confirms active connection |
| Browser location | No real GPS permission is active |
| Kill Switch | Traffic stops if VPN disconnects |
| Auto-Connect | VPN turns on when joining networks |
You do not need to run every test every day.
But you should run them when installing a VPN, changing devices, using public Wi-Fi, or troubleshooting privacy issues.
How KlarVPN Makes VPN Checks Easier
A VPN should not be a black box.
KlarVPN is built for users who want to understand what is happening, not just trust a connected icon.
KlarVPN includes:
Your own encrypted tunnel
Live transparency dashboard
Refresh Tunnel
Kill Switch + Auto-Connect
No browsing history
No IP destination logs
No DNS queries
No behavioural profiles
The live transparency dashboard helps users see what exists in KlarVPN’s system, such as sessions and total usage, while also making clear what KlarVPN does not keep.
Refresh Tunnel gives users a fresh VPN-side identity by rebuilding the tunnel with new encryption keys, a new IP address, and a refreshed tunnel fingerprint.
Kill Switch helps prevent traffic from leaving your device unprotected if the VPN drops.
Auto-Connect helps turn KlarVPN on when you join a network.
That combination makes protection easier to understand and easier to verify.
KlarVPN is not just built to say “connected.”
It is built to make privacy visible.
Common VPN Test Results and What They Mean
Result: IP Changed, DNS Looks Clean
This is a good sign.
Your VPN is likely working correctly.
Result: IP Changed, but DNS Shows Your ISP
This may be a DNS leak.
Check VPN DNS settings, reconnect, restart your browser, or test another VPN location.
Result: IP Did Not Change
Your VPN may not be routing traffic.
Reconnect, restart the app, check split tunnelling, or restart the device.
Result: WebRTC Shows Your Real IP
Your browser may be leaking IP details.
Disable WebRTC, use another browser, or adjust browser privacy settings.
Result: Website Still Shows Your Real Location
Check browser location permissions, cookies, account settings, and WebRTC.
It may not be an IP leak.
Result: VPN Drops and Internet Still Works
Your Kill Switch may not be enabled.
Turn it on if your VPN supports it.
Final Answer: How Do You Check If Your VPN Is Working?
To check if your VPN is working, compare your IP address before and after connecting. Then run DNS and WebRTC leak tests. Finally, confirm the connection inside your VPN app or dashboard.
Your VPN is likely working if:
Your visible IP address changes.
Your real ISP does not appear in DNS tests.
Your real IP does not appear in WebRTC tests.
Your VPN app confirms an active connection.
Your Kill Switch protects traffic if the VPN drops.
A connected icon is useful, but it should not be the only proof.
If privacy matters, test your VPN.
FAQs
How do I know if my VPN is actually on?
Check your IP address before and after connecting. If your visible IP changes and your VPN app shows an active session, the VPN is likely on. You should also run DNS and WebRTC leak tests for better confirmation.
Why does my location still look wrong with a VPN?
Websites may use old IP location databases, cookies, account settings, GPS permissions, or browser data. A wrong location does not always mean the VPN failed. Run IP, DNS, and WebRTC tests to confirm.
What is a DNS leak?
A DNS leak happens when your device sends DNS requests outside the VPN tunnel. This may expose website lookup activity to your ISP or network even while your VPN is connected.
What is a WebRTC leak?
A WebRTC leak happens when your browser exposes network information through WebRTC. In some cases, this can reveal your real IP address even when your VPN is on.
Can a VPN be connected but not working?
Yes. A VPN app may show connected while traffic is not routing properly, DNS is leaking, WebRTC is exposing your IP, or split tunnelling is bypassing the VPN for certain apps. That is why testing matters.